Quilting, a craft rich in history and creativity, offers a unique blend of tradition and self-expression. This time-honored practice, once a necessity, has evolved into a popular hobby for enthusiasts worldwide. It’s an art that allows you to transform simple fabric pieces into beautiful and functional creations. Whether you’re a beginner or looking to refine your skills, this guide will walk you through the essential steps of making a quilt. From choosing materials to piecing and finishing, each step is an opportunity to infuse your personal touch into this cherished craft.
Contents
Choosing The Right Materials

The journey to a beautiful quilt begins with selecting the right materials. The choice of fabric plays a crucial role in the quilt’s look, feel, and longevity. Cotton is a popular choice due to its durability and ease of handling, but blends and special quilting fabrics offer variety and texture. Alongside fabric, the proper selection of threads, needles, and cutting tools will make the process smoother and more enjoyable. Investing in quality materials upfront can significantly impact the ease of quilting and the quality of the final product.
Quality tools are as important as quality materials. A sharp rotary cutter, a self-healing cutting mat, and clear quilting rulers are essential for precise cuts. Similarly, choosing the right thread – cotton or polyester – depends on the fabric and the desired finish. Needles, both for hand and machine quilting, come in various sizes and types. Understanding these tools’ purposes will enhance your quilting experience and prevent common frustrations, leading to a more satisfying and successful project.
Design Planning
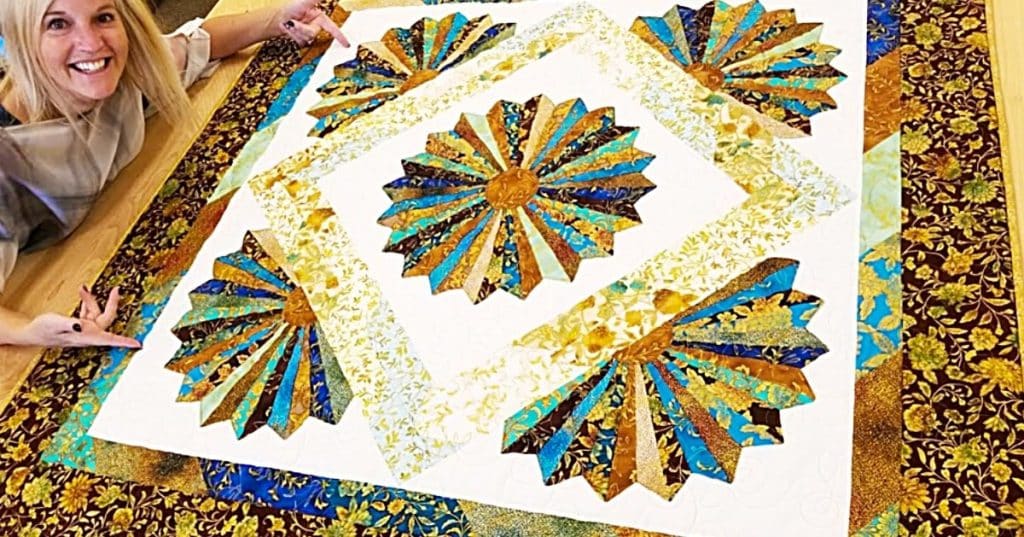
Before diving into cutting and stitching, planning your quilt’s design is a pivotal step. Deciding on a pattern is the first step; do you prefer a traditional block pattern or a modern, abstract design? This choice will dictate the fabric colors and quantities needed. Sketching the design or using quilting software can help visualize the final product and ensure that the pattern flows as intended.
Color selection is another critical aspect of design planning. It’s important to consider how colors work together, keeping in mind contrast and balance. Using a color wheel can aid in selecting a harmonious palette. Additionally, understanding the basics of cutting fabric for different patterns – such as strips, squares, or triangles – is essential. The way pieces are cut will affect the assembly and overall look of the quilt.
Cutting And Piecing
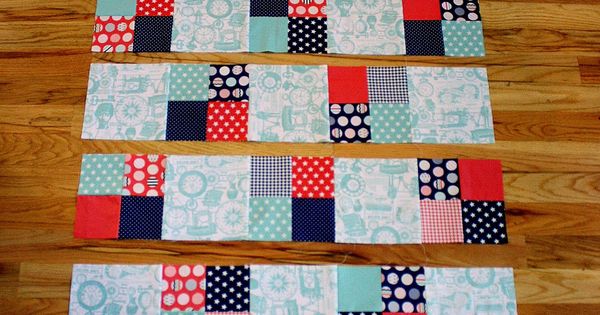
Cutting the fabric accurately is fundamental to a well-assembled quilt. Using your rotary cutter and quilting ruler, ensure each piece is precisely measured and cut according to your design. Consistent sizing is key to aligning pieces perfectly. Remember, accurate cutting now saves time and frustration during the piecing process. It’s a meticulous step, but its importance cannot be overstated.
Piecing, the process of sewing fabric pieces together, is where your quilt starts to take shape. Begin with simpler designs, like squares or rectangles, and ensure each piece is aligned correctly before sewing. A quarter-inch seam allowance is standard in quilting and helps in achieving uniform seams. Pressing seams flat as you go is crucial for a smooth finish. This stage is both methodical and creative, allowing you to see your design come to life, piece by piece.
Assembling The Quilt Top
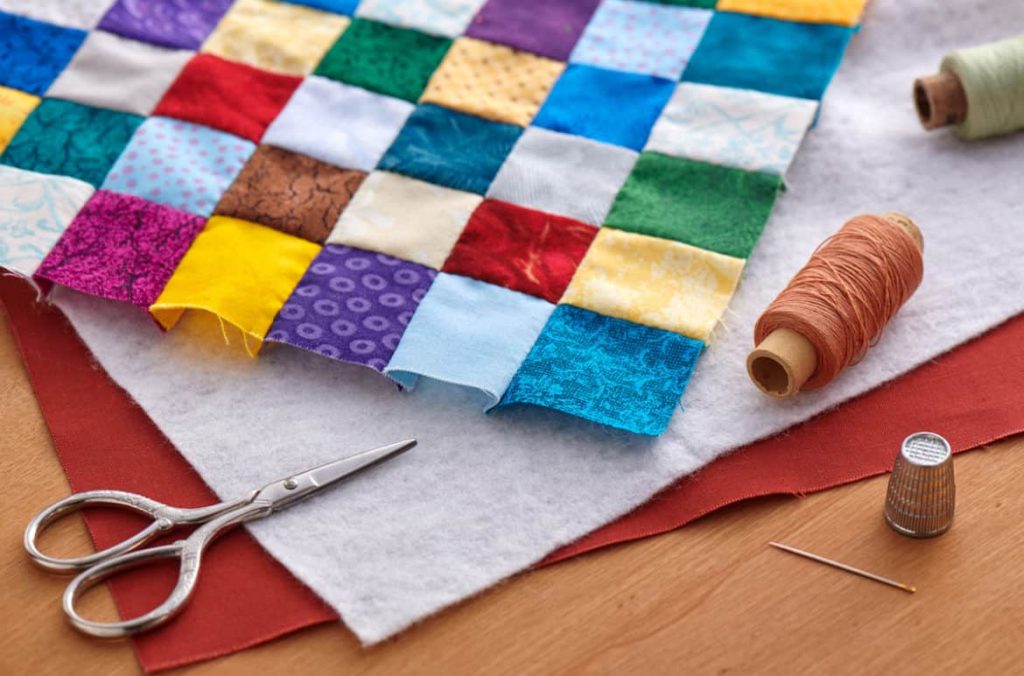
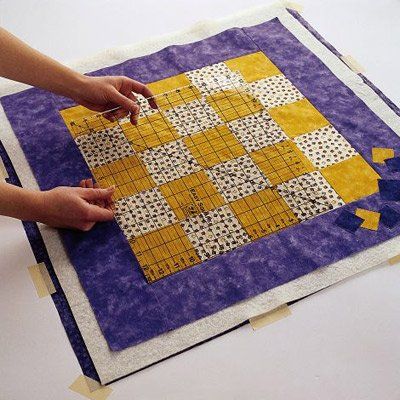
Once the blocks are pieced together, it’s time to assemble the quilt top. Lay out the blocks on a large, flat surface to finalize the arrangement. This step allows for last-minute adjustments in the design or color placement, ensuring the quilt top looks balanced and cohesive. Sew the blocks together in rows, then join the rows, continually pressing the seams for a flat and neat finish. The quilt top should lie smooth and flat, with all corners meeting neatly.
The next stage is adding borders to the quilt top, which frames the work and can adjust the final size. Borders can be simple or elaborate, plain or patterned, but they should complement the overall design. Measure the quilt top and cut the borders to size, ensuring they are even and straight. Sew the borders to the quilt top, starting with the sides and then the top and bottom. This completes the quilt top, a canvas of creativity and skill, ready for the next stages of quilting.
Preparing The Quilt Sandwich
Creating the quilt sandwich is a pivotal step in quilt making. This layering process involves the quilt top, the batting (middle layer), and the backing. Start by choosing a batting that complements the quilt’s purpose: lighter batting for summer quilts and thicker for winter. The backing should be a single, large piece of fabric, often in a neutral color or a pattern that complements the quilt top. Lay the backing fabric on a flat surface, wrong side up, followed by the batting, and then the quilt top, right side up.
Basting is the next crucial step to hold these three layers together. There are several methods, including safety pin basting, spray basting, or hand basting with large stitches. The goal is to ensure the layers stay flat and taut to prevent puckering during quilting. Start from the center and work outward, smoothing each layer as you go. This process might take time, but it’s essential for a well-finished quilt. A well-basted quilt sandwich sets the stage for a smooth quilting process.
Quilting The Layers Together

Quilting is the process of stitching together the three layers of the quilt sandwich. This can be done by hand or with a machine, depending on preference and skill level. Hand quilting adds a traditional touch and allows for more intricate designs, but it’s time-consuming. Machine quilting is faster and offers various options, like straight-line quilting or free-motion quilting. Before starting, plan the quilting design – this could be as simple as following the pieced pattern or a more elaborate design to add depth and texture.
Begin quilting from the center of the quilt, working outwards. This helps prevent fabric bunching and ensures a smoother finish. For machine quilting, use a walking foot for straight lines or a darning foot for free-motion quilting. Remember to adjust tension and stitch length as needed. Take breaks when needed to reduce fatigue. The quilting process not only secures the layers together but also adds to the quilt’s overall beauty and character.
Binding And Finishing Touches
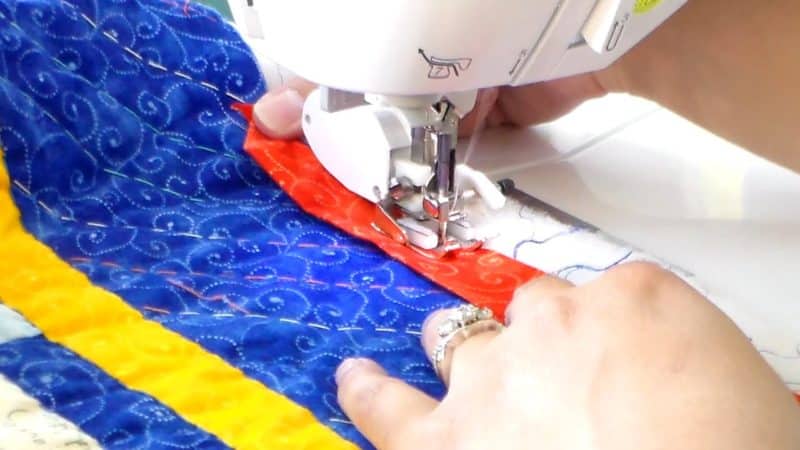
Binding is the final step in completing a quilt, enclosing its edges for a neat finish. Choose a fabric that complements or contrasts with the quilt top. Cut strips of this fabric, join them end-to-end, and fold them in half lengthwise to make the binding. Attach the binding to the front of the quilt with a sewing machine, mitering the corners for a professional look. Then, fold it over to the back of the quilt and hand-stitch it down for a clean finish.
After binding, the quilt may benefit from some finishing touches. This could include a label on the back with the quilt’s name, maker’s name, and date, or even a personal message if it’s a gift. Washing the quilt upon completion isn’t just practical; it also gives it a soft, lived-in feel. Use mild detergent and dry it flat or in a dryer on low heat. These final touches complete the quilt and add a personal signature to the work.
Quilting Tips And Tricks

Every quilter, whether a beginner or experienced, can benefit from a few tips and tricks. First, always test the color fastness of fabrics before use, especially with dark and bright colors, to avoid dye bleeding. Secondly, invest in good quality thread and needles – they make a significant difference in the ease of quilting and the final look. Use a new needle for each project to prevent snagging or breaking.
For those new to quilting, start with small projects like table runners or baby quilts. This builds skills without the overwhelming feeling of a larger quilt. Keep a quilting diary or journal to note what works and what doesn’t, including fabric types, thread colors, and patterns used. Finally, remember that patience and practice are key. Quilting is as much about the process as the product; every stitch adds to the quilter’s journey.
Embark On Your Quilting Adventure
Quilting is more than just crafting; it’s an art that tells a story, your story. With each stitch, a piece of heritage and creativity is woven, culminating in a tapestry of personal expression. This guide has laid the foundations; now it’s your turn to pick up the needle and thread. Embrace the process, experiment with colors and patterns, and, most importantly, enjoy the journey of creating something truly unique. Your quilting adventure awaits, and the possibilities are as endless as your imagination!