Diving into the world of home canning is an exciting endeavor that rewards you with the taste of summer even in the heart of winter. Preserving food using this traditional method is not only a great way to make use of excess produce from your garden, but it also promotes a healthier lifestyle by allowing control over what goes into your food. This blog post will guide you on the journey, explaining the importance of home canning, necessary tools and terminologies, safety measures, beginner-friendly recipes, and more. Let’s embark on the journey to get started with home canning!
Contents
The Importance Of Home Canning

Home canning is a skill that pays dividends, and not just in the delicious produce you’ll preserve. In the age of increasing self-sufficiency and sustainability, home canning aligns perfectly with reducing food waste and making the most of seasonal produce. It enables you to preserve the freshness of fruits, vegetables, and even meats, at their peak, letting you savor their flavors all year round. The nutritional value is locked in, and there’s the added advantage of knowing exactly what’s in your food.
Canning has a long and rich history dating back to the 19th century. During times of war and economic hardship, canning was a lifeline, preserving the bounty of the garden for leaner times. Today, amidst the hustle and bustle of modern life, it offers a chance to reconnect with our food and fosters healthier eating habits. It’s a way to step away from overly processed, store-bought goods laden with preservatives, and towards nature’s wholesome goodness.
How To Get Started With Home Canning
The prospect of home canning may seem daunting to the uninitiated, but it’s a process that can be mastered with some patience and guidance. The sections below delve into the key aspects of home canning – understanding the lingo, gathering your tools, following the canning process, and most importantly, ensuring safety while preserving your food.
Understanding Basic Canning Terminology

Before you start, it’s essential to familiarize yourself with some basic canning terminology. Terms like ‘processing,’ which means heating the filled jars to kill off bacteria, and ‘seal,’ referring to the airtight closure on your jars, are fundamental. Another key term is the ‘vacuum effect,’ a process where heat causes food to expand and push out air, creating a vacuum seal as the food cools and contracts.
There are also two types of canning you’ll come across: pressure canning and water bath canning. Pressure canning involves heating the jars to a higher temperature and is used for low-acid foods like meats and most vegetables. Water bath canning is suitable for high-acid foods like fruits, pickles, and jams. Understanding when to use each method is crucial for safe and effective canning.
Essential Equipment For Home Canning
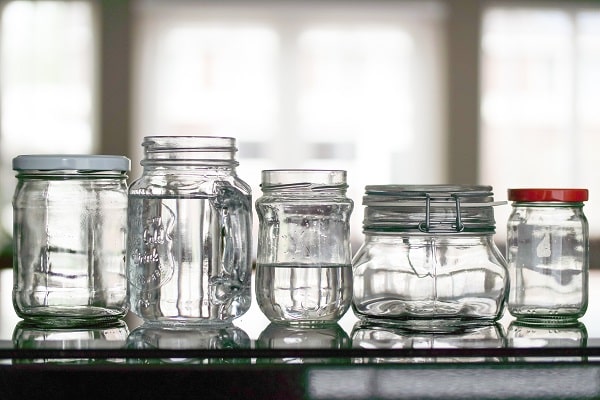
To start your home canning journey, you’ll need some basic equipment. This includes glass jars with two-part lids (a flat lid and a screw band), a jar lifter for handling hot jars, a canning funnel for clean and easy filling, and a canner – either a water bath canner for high-acid foods or a pressure canner for low-acid foods.
Good quality equipment is key for successful canning. Inspect your jars for nicks, cracks, or chips, especially around the rim, as they can prevent a proper seal. Lids and screw bands should be free of rust or dents. You can find this equipment in kitchen supply stores or online. Regular maintenance is also important to ensure longevity and safety.
Steps To Successful Home Canning

The canning process, while meticulous, can be broken down into a few key steps: preparation, filling, processing, and storage. Preparation involves cleaning and sterilizing your jars and lids, and preparing your chosen produce according to your recipe. Filling should be done carefully, leaving appropriate headspace (the space between the food and the top of the jar) to allow for food expansion during processing.
Processing involves placing your filled jars into the canner and heating them for a specified time to kill off bacteria and create a vacuum seal. Once processing is complete, let the jars cool and then check the seal – the lid should be indented and not flex when pressed. Finally, store your preserved goods in a cool, dark place, ready to be savored later.
Understanding and Implementing Canning Safety Measures
Safety is paramount when it comes to home canning. Bacteria, yeasts, and molds can survive in canned food, leading to spoilage and foodborne illnesses. Following the correct processing methods and times for different foods is crucial to kill these microorganisms.
One common concern is botulism, a serious illness caused by consuming food contaminated with the botulinum toxin. It can be prevented by correctly using a pressure canner for low-acid foods, which kills the bacteria producing this toxin. Always adhere to trusted recipes and avoid shortcuts, as they may compromise the safety of your canned goods.
Recipes Suitable For Beginners

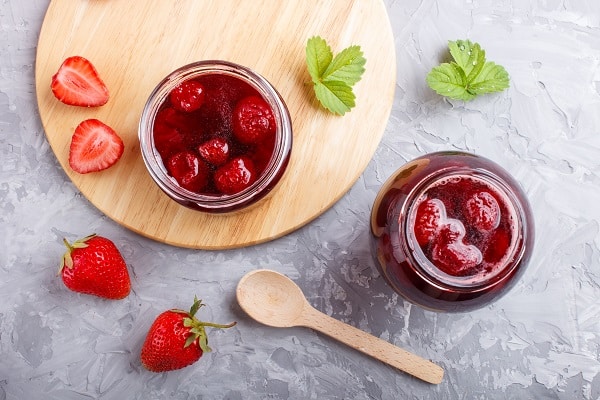
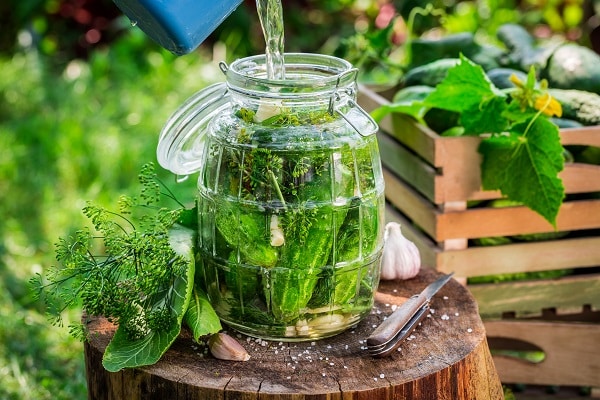
Starting your canning journey with simple recipes can boost your confidence. Try making dill pickles or strawberry jam – both are high-acid foods that use the water bath canning method. Always ensure you follow recipes from reliable sources as they are tested for safety and quality.
When choosing or modifying recipes for canning, it’s important to remember that acidity plays a crucial role in preserving safety. High-acid foods naturally inhibit bacteria growth, making them ideal for beginners. As you gain experience, you can safely venture into canning low-acid foods.
Common Problems In Home Canning And How To Avoid Them
Even with the best intentions, you might encounter problems in your canning journey. These could range from seal failures to changes in food color or texture. Often, these issues can be traced back to minor errors in the canning process – overfilling jars, not adjusting processing times for altitude, or using damaged equipment.
Fortunately, most of these issues can be prevented with careful attention to detail and adherence to canning guidelines. Don’t be discouraged by mistakes – they are learning opportunities, and with practice, you’ll find the process becoming smoother and more intuitive.
Advancing Your Canning Skills
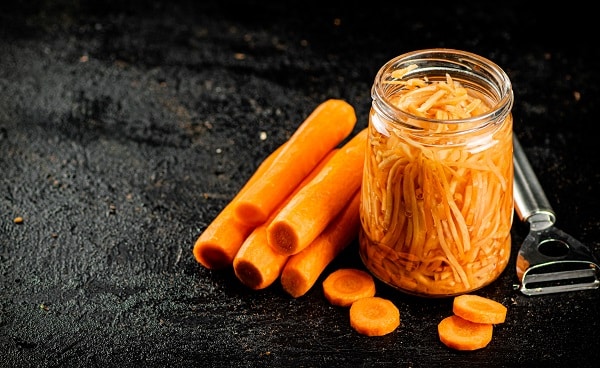
Once you’ve mastered the basics, you can expand your canning repertoire. Experiment with different fruits, vegetables, or even try your hand at canning homemade soups or stews. Learning to mix and match flavors can result in truly unique preserves.
Joining a local canning group or an online community can also be beneficial. These platforms are great for sharing experiences, troubleshooting problems, and picking up advanced techniques. Remember, the journey of home canning is one of continuous learning and delicious rewards.
Conclusion
Embracing home canning can be a journey of discovery, self-sufficiency, and culinary delight. It might seem complex at first, but with some patience, attention to safety, and a willingness to learn, you’ll soon be filling your pantry with jars of your favorite seasonal produce, ready to be enjoyed year-round. So why wait? It’s time to get started with home canning!