In the moments following an injury, knowing how to respond can be the difference between a swift recovery and long-term complications. Creating a makeshift splint is one of those essential skills that is invaluable in a variety of situations, from outdoor adventures gone awry to simple household accidents. This guide is tailored to equip you with the knowledge and confidence needed to effectively immobilize an injured limb. By the end, you’ll understand not just how to create a make shift splint from everyday materials but also when and why it’s necessary to do so, ensuring you’re prepared to provide support until professional help can be obtained.
Contents
Splints Explained
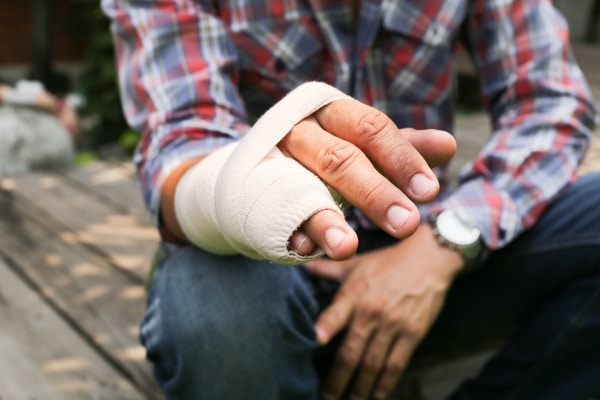
A splint is fundamentally a device used to immobilize and protect an injured limb, reducing pain and preventing further damage to muscles, nerves, and blood vessels. Its primary use is in stabilizing fractures, dislocations, and sprains by keeping the affected area stationary, which is especially critical in emergency situations where professional medical help is not immediately available. The effectiveness of a splint, therefore, hinges on its ability to restrict movement, absorb shock, and provide support, all while ensuring no additional harm comes to the injured party.
Commercial splints are designed for this exact purpose, made from materials that offer rigidity and comfort. However, emergencies can occur in settings where these are not accessible, prompting the need for improvisation. Everyday objects such as wooden boards, magazines, or even sturdy branches can be repurposed into effective splints. The ingenuity in selecting and utilizing these materials often determines the success of makeshift splinting, underlining the importance of understanding basic principles over having specific tools.
When to Splint

Determining the need for a splint involves recognizing symptoms of serious injuries like fractures, dislocations, or severe sprains. Key indicators include intense pain, especially upon movement, noticeable swelling or bruising, and any visible deformity or misalignment of the limb. In these instances, splinting is crucial to immobilize the affected area, helping to manage pain and prevent further injury until a medical evaluation can be done.
It’s equally vital to recognize situations where splinting may not be advisable. For example, if the injury is severely open or if there’s uncertainty about the nature of the injury, it might be safer to wait for emergency responders. The decision to splint should always be made with the well-being of the injured person in mind, avoiding any actions that could exacerbate their condition. Hence, when in doubt, prioritize keeping the injured limb as still as possible without direct intervention.
Materials You Can Use
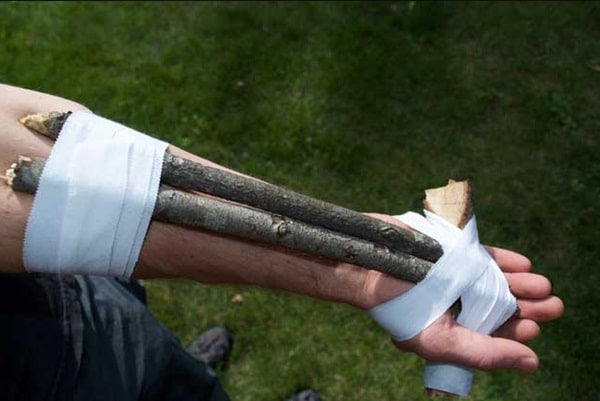
In emergencies where conventional splinting materials are unavailable, creativity in using what’s at hand can be life-saving. Items that offer a combination of rigidity and length, such as broom handles, pieces of wood, or metal rods, can serve as the structural base of a splint. For padding, which is essential to cushion the injured area and prevent pressure sores, anything soft and pliable can be used, including clothing, blankets, or even leaves and grass in outdoor scenarios.
The method of securing the splint is equally important, with materials like belts, ties, scarves, or strips of cloth serving well for this purpose. These items should be used to fasten the splint firmly enough to immobilize the injured area but not so tight as to cut off circulation. It’s a delicate balance that requires constant monitoring and adjustment, ensuring that the makeshift splint provides both stability and comfort to the injured limb.
The Do’s of Splinting
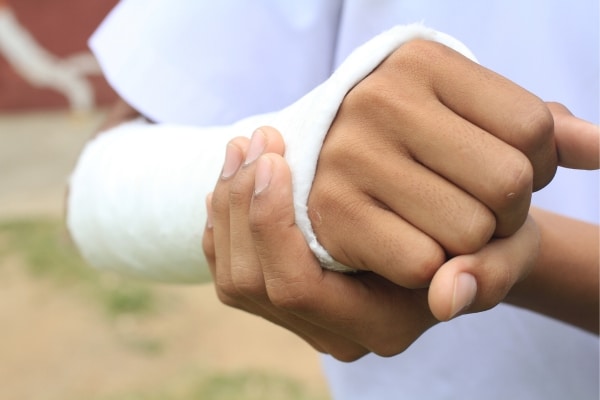
A critical principle in splinting is immobilizing the joints above and below the site of the injury. This approach ensures comprehensive stabilization of the affected area, safeguarding against movements that could lead to further injury. When applying a splint, gentle handling is paramount to avoid causing additional pain or distress, highlighting the need for a calm and measured approach.
Another vital consideration is maintaining circulation to the injured limb, which can be monitored by checking the temperature and color of the skin beyond the splint, as well as by assessing sensation and movement in fingers or toes. Adjustments should be made as necessary to ensure the splint is effective without being constrictive. This attention to detail not only aids in the immediate management of the injury but also supports the overall recovery process by preventing secondary complications.
The Don’ts of Splinting

When it comes to splinting, there are several key mistakes that can do more harm than good, making it essential to know what not to do. First and foremost, never attempt to realign the injured limb or joint yourself. This can cause further damage to the surrounding tissues, nerves, and blood vessels. It’s also important not to apply the splint too tightly, as this can restrict blood flow and lead to complications such as nerve damage or compartment syndrome.
Avoid using materials that are too rigid or sharp, as they can create pressure points or even cut into the skin, worsening the injury. Equally, it’s critical not to ignore signs of discomfort or pain from the person you’re helping. Continuous monitoring and communication are vital to ensuring their well-being throughout the process. Always prioritize getting professional medical help as soon as possible, as a makeshift splint is a temporary solution intended to manage the injury until it can be properly treated.
Step-by-Step Guide to Making a Lower Limb Splint
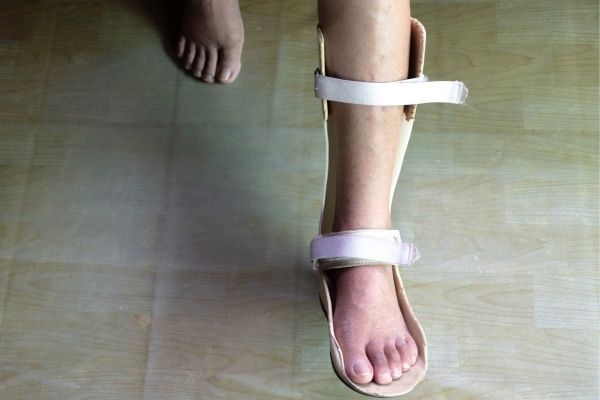
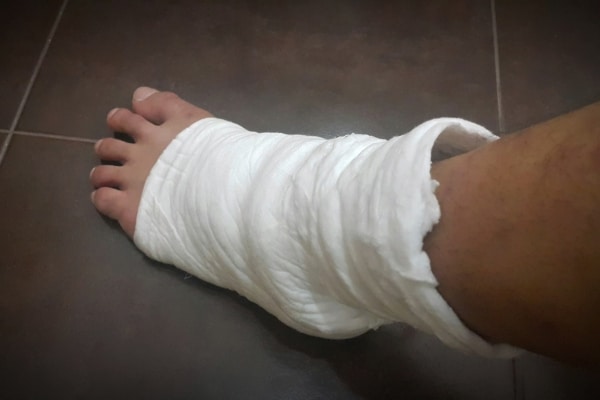
To create a makeshift splint for a lower limb, start by finding a sturdy, straight object like a stick or a piece of wood that spans the length of the injured leg. This will serve as the main support structure. Next, gently place the splint along the injured leg, ensuring it extends beyond the joints above and below the injury. Use soft materials like clothing or towels for padding between the splint and the leg to prevent pressure points.
Secure the splint in place using belts, scarves, or strips of cloth. Tie them above and below the injury site, not directly on it, to avoid additional pressure on the injured area. It’s crucial to check that the ties are firm enough to immobilize the limb but not so tight that they cut off circulation. After applying the splint, observe the toes for any signs of reduced blood flow, such as coldness or a blue tint, and adjust the tightness of the ties as necessary.
Step-by-Step Guide to Making an Upper Limb Splint
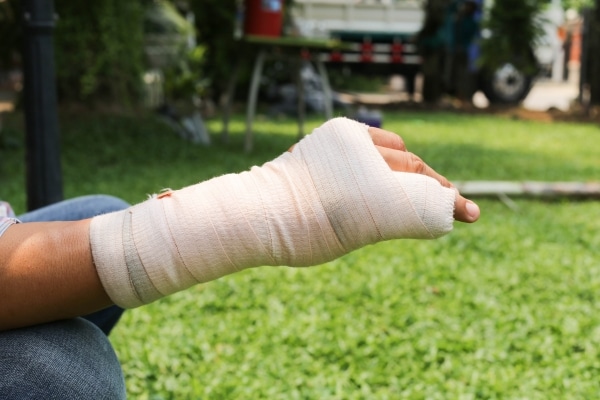
For injuries to the upper limb, such as the arm or wrist, the process begins similarly by selecting a rigid item to act as the splint, ensuring it is long enough to immobilize the joints above and below the injury. Depending on the injury’s location, the splint may need to be shaped or padded to accommodate the arm’s natural curvature, using soft materials to cushion the limb.
The splint should then be secured with care, using whatever materials are available to wrap around the splint and the limb, but avoiding tying directly over the injury site. Special attention should be paid to the hand’s circulation, ensuring fingers remain pink and warm to the touch, indicating good blood flow. If the person reports numbness or tingling, or if the fingers become pale or cold, the bindings may need to be loosened to ensure proper circulation.
Aftercare and Monitoring
Once the splint is in place, the care doesn’t stop there. Monitoring the injured person for signs of shock, discomfort, or worsening symptoms is critical. Look for changes in skin color, temperature, or swelling, which could indicate issues with the splint or the injury itself. Regularly ask the injured person about their pain levels and any sensations of numbness or tingling, which could signal a problem with circulation or nerve compression.
In addition to physical care, providing reassurance and keeping the injured person calm can play a significant role in their overall recovery. Explain the steps you’re taking as you provide first aid, and ensure they understand the importance of professional medical evaluation. Remind them that a makeshift splint is a temporary measure and that seeing a healthcare provider as soon as possible is crucial for proper diagnosis and treatment.
Splinting Skills to Carry With You
Arming yourself with the knowledge of how to create and apply a makeshift splint is a powerful addition to your first aid skills. This guide has walked you through the essentials, from choosing the right materials to the careful application and monitoring of splints. Remember, while a well-applied splint can significantly aid in injury management, it’s only a temporary solution. The ultimate goal is to stabilize and protect the injury until professional medical care can be obtained, emphasizing the importance of quick and responsible action in emergency situations.