Creating homemade soap is an enjoyable and therapeutic process. Not only can you customize your recipe to whatever scent or color that suits you, but the satisfaction of successfully making a bar of soap from scratch is hard to beat! So if you want to learn more, the following guide will walk you through making homemade soap. From gathering the necessary ingredients to curing and storing your soap, by the end of this post, you will have all the necessary knowledge for making soap right at home!
Contents
The Benefits Of Making Your Own Soap

Making your soap can be both fun and rewarding! Not only do you get to explore DIY projects related to health, but you will also benefit from the cost savings. Handmade soaps are often made with natural ingredients that are much gentler on your skin than store-bought ones; they also tend to contain more moisturizing properties thanks to their vegetable oil base, which won’t leave your skin feeling dry and tight like many commercial soaps.
Furthermore, when making your soap, you have complete control over what goes into it, allowing you to customize the scent, color, texture, and more. Finally, homemade soap also makes a great gift since you can tailor it according to the recipient’s preferences!
Step-By-Step Guide On How To Make Homemade Soap
If you are itching to get started, here is a simple step-by-step guide to help you make your soap. Following these instructions will ensure that you make a quality product safe to use. It will also help you familiarize yourself with the process so you can eventually experiment with variations of soap recipes!
Gather Your Materials And Equipment
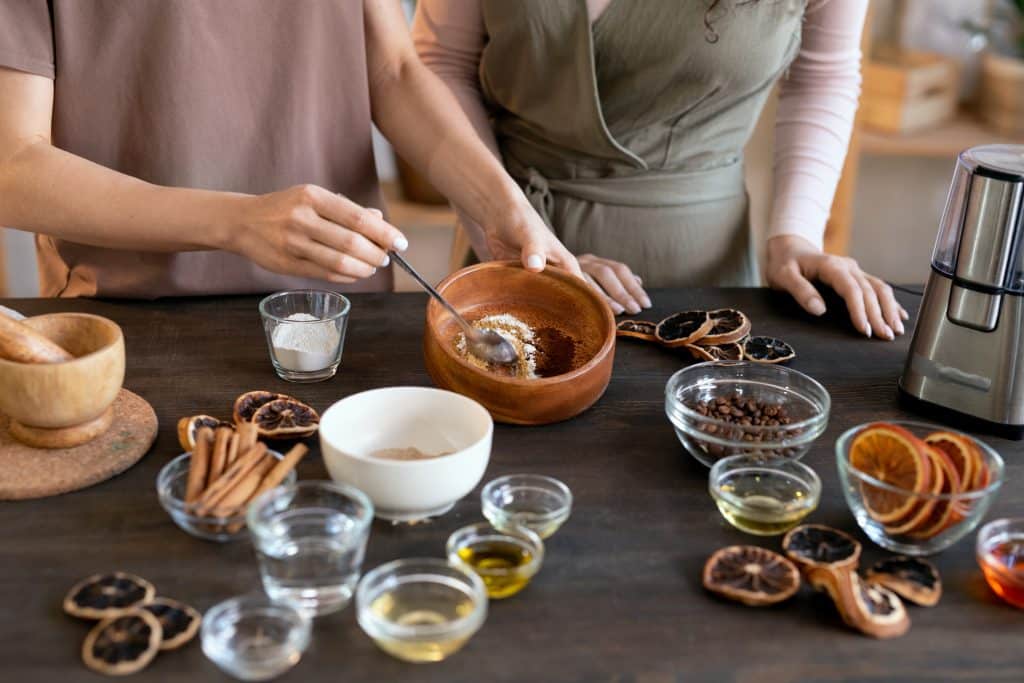
Before you start making soap, it’s essential to gather all of the necessary materials and equipment. Here’s a list of what you’ll need:
- Lye (sodium hydroxide)
- Base oils (such as olive, coconut, palm, and castor oil)
- Measuring cups and spoons
- Heat-resistant container for mixing the lye solution
- Thermometer
- Mixing utensils (such as a stainless steel spoon or spatula)
- Soap mold
- Gloves and safety goggles
- Optional: fragrance oils or essential oils, colorants, and other additives
Choosing Your Base Oils

When making soap, the base oils you choose will greatly impact the final product. Different oils have different properties and benefits, such as moisturizing, cleansing, and lathering. A common rule of thumb is to use a combination of hard and soft oils to achieve a good balance of lather, cleansing, and moisturizing. Some popular base oils include:
- Olive oil: moisturizing and nourishing for the skin
- Coconut oil: creates a rich lather and cleansing properties
- Palm oil: adds firmness to the soap and creates a stable lather
- Castor oil: promotes lather and adds moisturizing properties
Mixing The Lye Solution
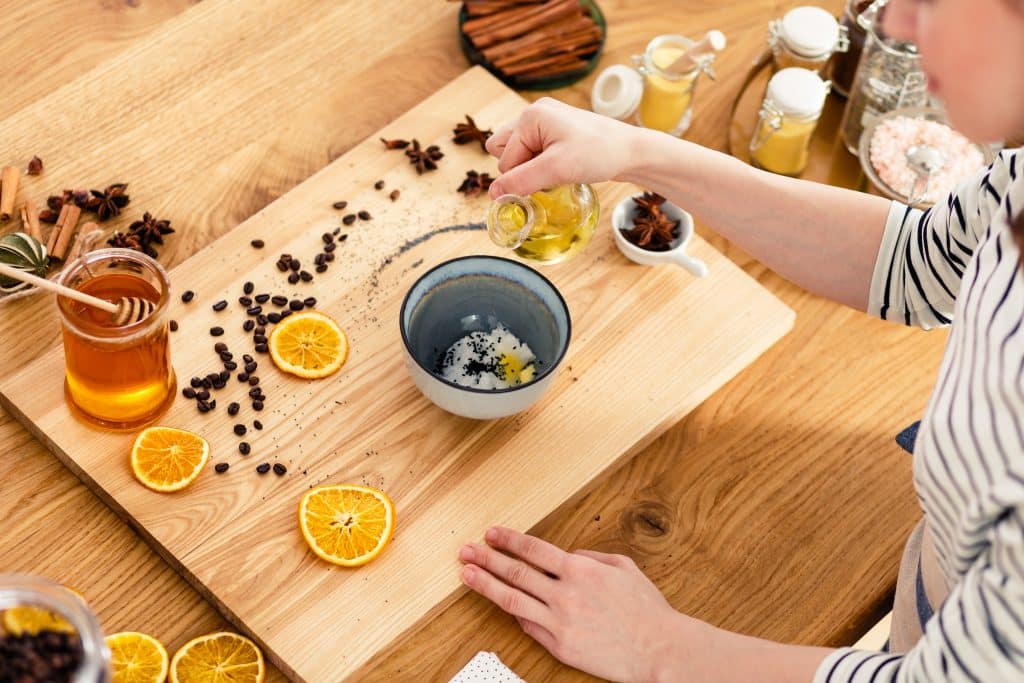
Once you have gathered your materials and chosen your base oils, it’s time to mix the lye solution. This is the step where the magic of soap-making happens, as the lye reacts with the oils to create soap. It’s essential to measure the lye and water accurately, as deviations can affect the final outcome of the soap. Here’s how to mix the lye solution:
- Put on your gloves and safety goggles.
- Slowly and carefully measure the lye and pour it into a heat-resistant container.
- Measure out the water and pour it into the container with the lye.
- Stir the mixture until the lye has completely dissolved.
- Allow the mixture to cool to around 100°F.
Mixing The Oils And Lye Solution

Once the lye solution has cooled, it’s time to mix it with the base oils. This is done using a method called trace when the oils and lye solution have emulsified and thickened to the point where they leave a trace on the surface when stirred. Here’s how to mix the oils and lye solution:
- In a separate container, measure out the base oils and heat them to around 100°F.
- Slowly pour the lye solution into the oils while stirring continuously.
- Continue to stir until the trace is achieved, which should take about 10 to 15 minutes.
Add Fragrances

When mixing the oils and lye, you can add fragrances or essential oils to give the soap a pleasant scent. You can use any type of fragrance or essential oil that you like; just follow the manufacturer’s instructions on how much to use. This step should happen simultaneously with mixing the oils and lye. Here’s how to do it:
- Measure out the desired amount of fragrance oil or essential oil.
- Slowly add it to the oils and lye solution while stirring continuously.
- Continue following the steps in the mixing lye and oil section.
Pouring Into The Mold
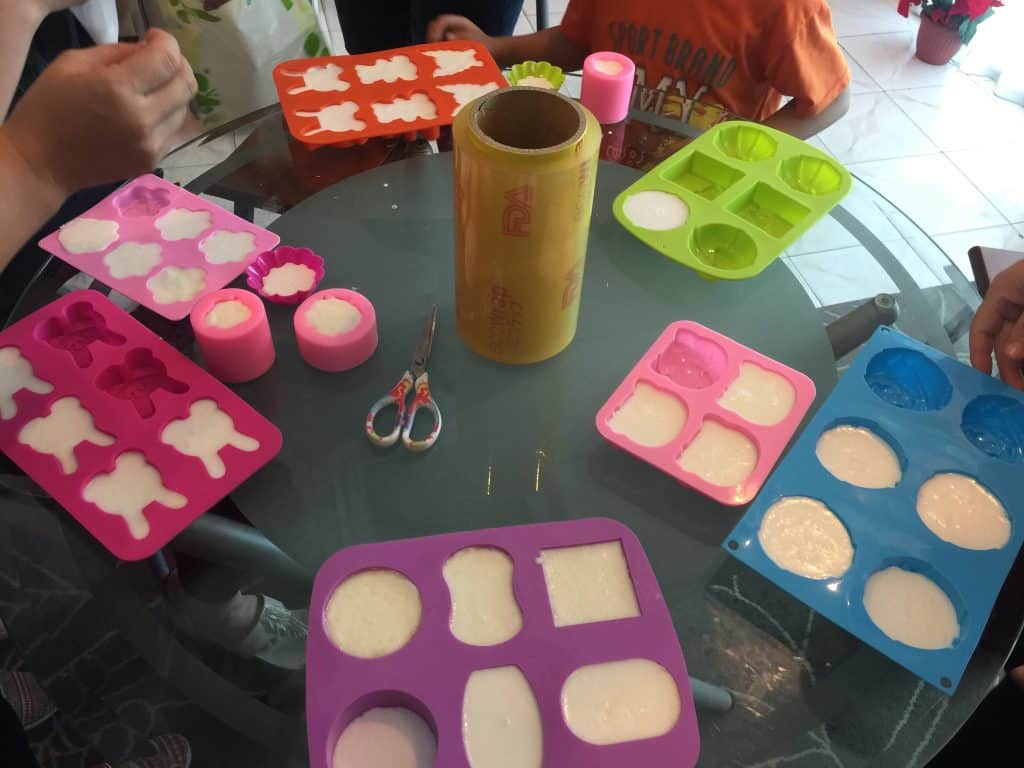
Once the trace has been achieved, it’s time to pour the soap mixture into the mold. Make sure the mold is ready and lined with plastic wrap or parchment paper. Here are the steps to take:
- Pour the soap mixture into the mold and smooth out the top.
- Tap the mold gently on the counter to release any air bubbles.
- Cover the mold with a lid or plastic wrap and insulate it with towels or blankets. This helps the soap retain heat and promotes saponification, which turns the oils and lye into soap.
Curing And Cutting The Soap
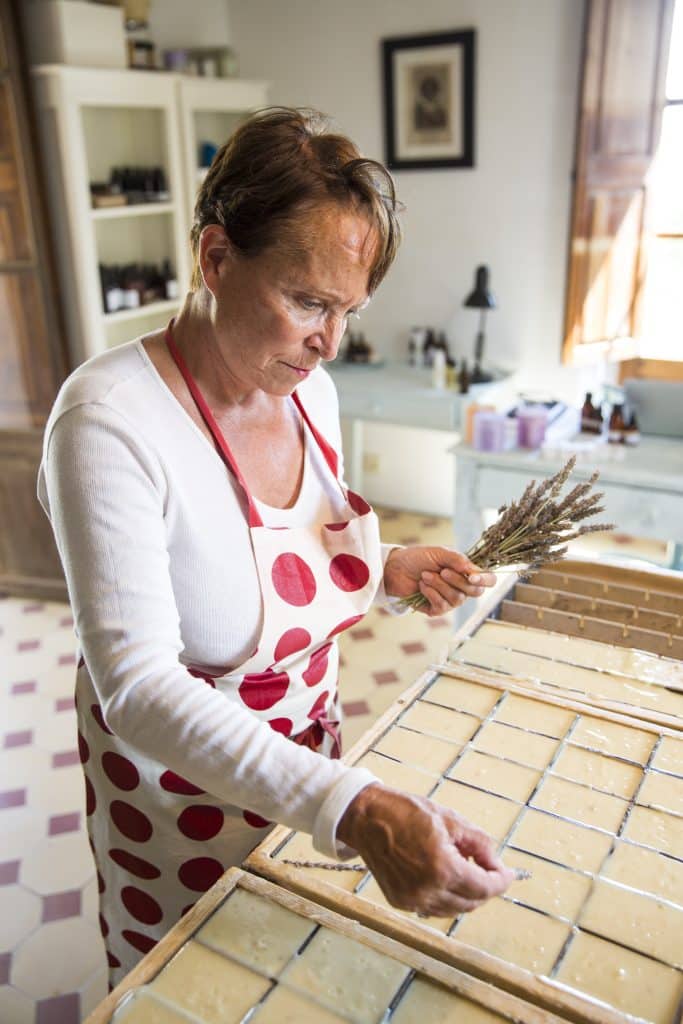
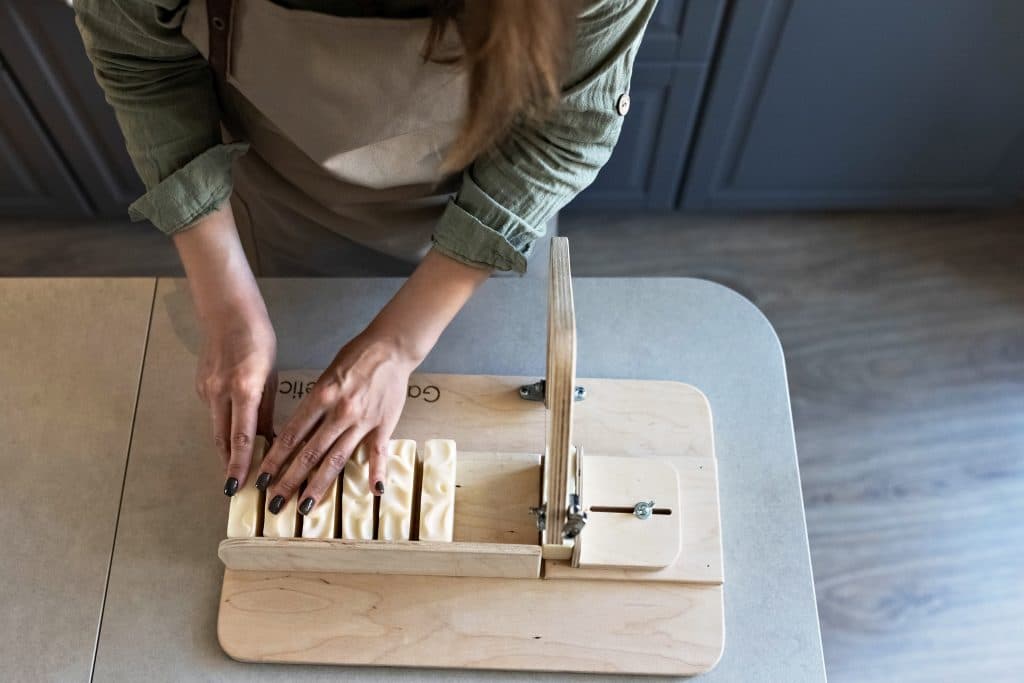
After the soap has been poured into the mold and insulated, it’s time to let it cure. Curing allows the soap to fully saponify and helps to harden it to last longer when used. Most soap recipes require at least 24 hours of curing time, but some may need up to 48 hours or longer. Once the soap has cured, it’s time to remove it from the mold and cut it into bars. Here’s what to do:
- Carefully remove the soap from the mold and place it on a cutting board.
- Using a sharp knife, cut the soap into individual bars.
- Place the bars on a wire rack or other surface and allow them to cure for another 4 to 6 weeks. This further hardens the soap and allows the excess moisture to evaporate, resulting in a longer-lasting bar.
Storing Your Soap
Once your soap has finished curing, it’s ready to use! To store it, simply keep it in a cool, dry place and allow it to breathe. Do not store soap in an airtight container, as this can trap moisture and cause the soap to go rancid. It’s also good practice to label each soap bar with the ingredients used, just in case anyone has allergies or sensitivities. With proper storage and care, your homemade soap should last for several months!
Bonus Tips To Successfully Make Homemade Soap
Making soap at home can be a fun and rewarding experience, but it’s important to follow safety precautions and use the right materials and techniques. Here are a few extra tips for successful soap-making:
- Always use fresh, food-grade oils and lye.
- Work with lye in a well-ventilated area.
- Keep a container of vinegar nearby to neutralize any spills or splashes of lye.
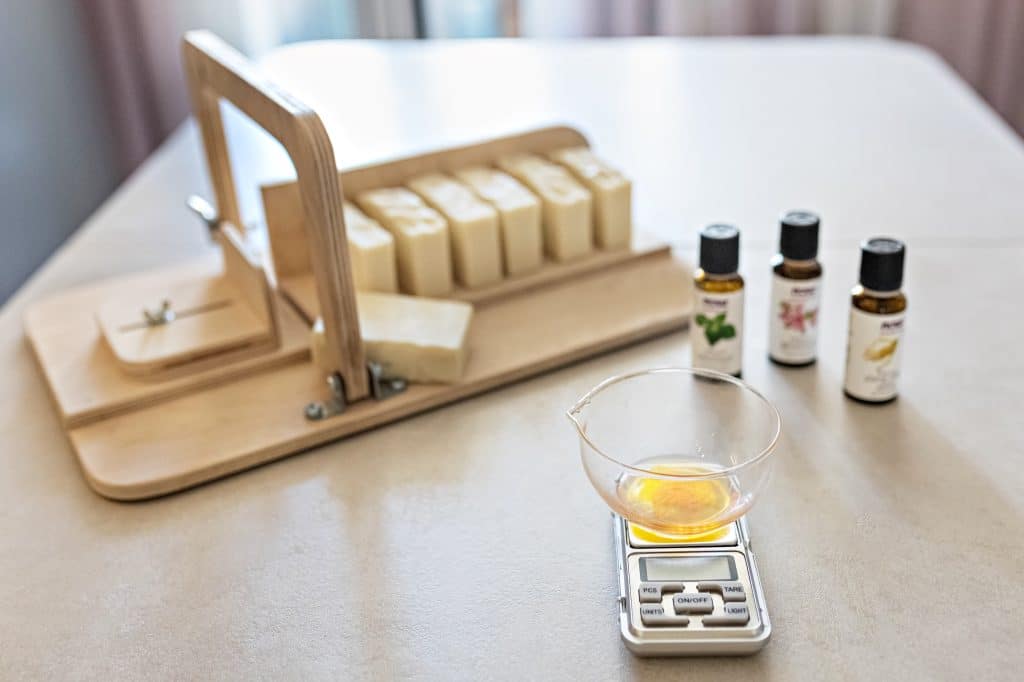
- Use a digital scale to measure all ingredients accurately.
- Check your soap’s pH level before using it on your skin.
- Invest in a soap calculator to ensure the perfect ratio of lye and oils.
- Label each batch of soap with the ingredients used and the date made.
- Discard any soap that is discolored, has an off odor, or shows signs of mold growth.
You’re Ready To Make Homemade Soap!
Attempting to make homemade soap can be a fun and rewarding experience, allowing you to control the ingredients and customize the scent and appearance. Anyone can make soap at home with the right materials, techniques, and safety precautions. And if you’re ever in doubt, there are plenty of instructional videos and resources online to help guide you! Remember to measure accurately, use high-quality ingredients, and be patient to ensure a successful outcome.