Imagine transforming your old clothes and fabric scraps into a beautiful, rustic rug that adds character to your living space. The allure of crafting something with your own hands not only brings a sense of accomplishment but also contributes to sustainable living. Rustic rugs, with their unique textures and designs, can be the perfect addition to any home. This post will guide you through the different aspects of crafting rustic rugs, from selecting the right materials to mastering basic weaving techniques. So, if you’re interested in adding a touch of rustic charm to your home while being eco-friendly, read on.
Contents
The Allure Of Rustic Rugs

Rustic rugs have a unique ability to bring warmth and coziness into a home. Their handmade quality often exudes a sense of history and craftsmanship that mass-produced rugs simply can’t replicate. The intricate patterns and natural materials used in rustic rugs can effortlessly complement various interior design styles, from farmhouse to bohemian. Moreover, the tactile experience of walking on a rustic rug can be incredibly comforting, making your home feel like a sanctuary.
But it’s not just about aesthetics; there’s also an eco-friendly aspect to consider. Crafting a rustic rug from scraps means you’re giving new life to materials that would otherwise end up in a landfill. This aligns perfectly with the growing trend of sustainable living, where every small action counts. By choosing to create a rustic rug, you’re not just enhancing your living space; you’re also making a positive impact on the environment.
Types of Materials You Can Use

When it comes to crafting a rustic rug, the sky’s the limit with the types of materials you can use. Fabric scraps from old clothes, linens, or even upholstery can be repurposed into something beautiful. Cotton, wool, and even synthetic blends can work well, depending on the look and feel you’re going for. However, it’s essential to consider the texture and durability of the fabric, especially if the rug will be placed in a high-traffic area.
Don’t limit yourself to just fabric scraps. Old clothes like t-shirts, jeans, and sweaters can also be transformed into rug material. Cut them into strips and weave or knot them into your rug for added texture and color. If you’re looking for more sustainable options, materials like jute, hemp, or recycled plastic can also be incorporated into your design. These materials not only add a unique touch but also contribute to the rug’s durability.
Tools You’ll Need

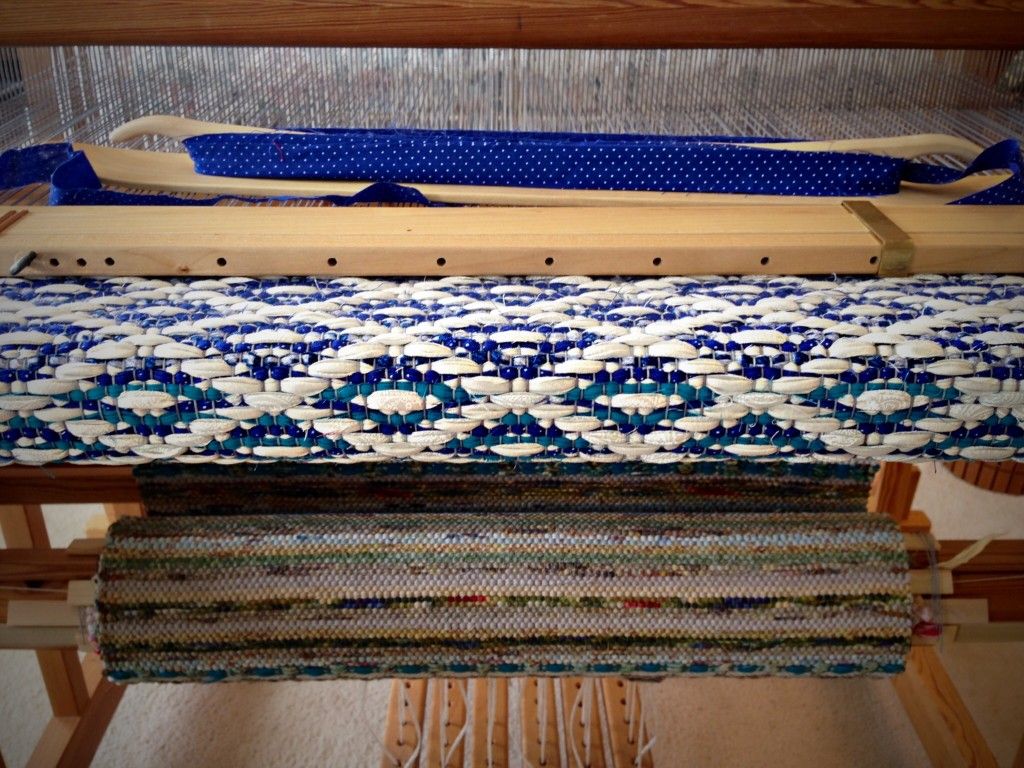
Before diving into the crafting process, it’s crucial to gather all the necessary tools. Basic items like scissors, measuring tape, and fabric markers are a must. These tools will help you cut and measure your materials accurately, ensuring that your rug turns out just the way you envisioned it. If you’re new to rug-making, a simple frame or loom can be incredibly helpful for keeping your work taut and even.
In addition to the basics, there are optional tools that can make the process easier and more efficient. A rotary cutter can speed up the cutting process, while a crochet hook can help with intricate knotting techniques. If you’re planning on making more than one rug, investing in a high-quality loom might be a good idea. It will not only make the weaving process smoother but also allow you to experiment with more complex designs and techniques.
Preparing Your Materials

Before you start weaving your rustic rug, it’s essential to prepare your materials meticulously. Sorting your fabric scraps by type and color can make the weaving process much smoother. If you’re using old clothes, now is the time to cut them into strips, keeping in mind the width and length you’ll need for your rug. Accurate cutting is crucial, as uneven strips can lead to a lopsided or bumpy rug. A fabric marker can be handy for marking your cuts before you make them.
Some materials may require pre-treatment before they can be woven into a rug. For instance, if you’re using wool, it might need to be washed to remove any lanolin, making the rug feel greasy. Similarly, dyed fabrics should be tested for colorfastness to prevent the colors from bleeding into each other. A simple wash and dry can often solve these issues, ensuring that your rug will look and feel its best.
Basic Weaving Techniques

Once your materials are ready, it’s time to dive into the weaving techniques that will bring your rustic rug to life. The tabby weave, also known as plain weave, is the simplest form of weaving and a great starting point for beginners. In this technique, the weft (horizontal threads) passes over and under the warp (vertical threads) alternately. This creates a flat, tight weave that’s perfect for rugs that will be placed in high-traffic areas.
For those looking for a bit more of a challenge, the twill weave offers a more complex pattern. In a twill weave, the weft thread goes over one or more warp threads and then under two or more warp threads. The result is a diagonal pattern that adds a touch of sophistication to your rug. Knotting techniques can also be incorporated to add texture and depth to your design. Whether you choose to stick with a simple tabby weave or experiment with more intricate patterns, mastering these basic techniques is key to crafting a beautiful, durable rug.
Designing Your Rug

Designing your rug is perhaps the most exciting part of the process. This is where you get to unleash your creativity and plan how your rug will look. Start by sketching out a design or pattern you’d like to follow. Consider the color scheme carefully; it should complement the room where the rug will be placed. If you’re unsure about colors, neutral tones are always a safe bet but don’t hesitate to add pops of color for visual interest.
Patterns can range from simple stripes or checks to more elaborate geometric or floral designs. If you’re a beginner, starting with a straightforward pattern might be best, and then gradually moving on to more complex designs as you gain confidence. Remember, the beauty of a rustic rug lies in its imperfections. So, don’t worry if your lines aren’t perfectly straight or your patterns aren’t symmetrical. These quirks will only add to the rug’s rustic charm.
The Weaving Process

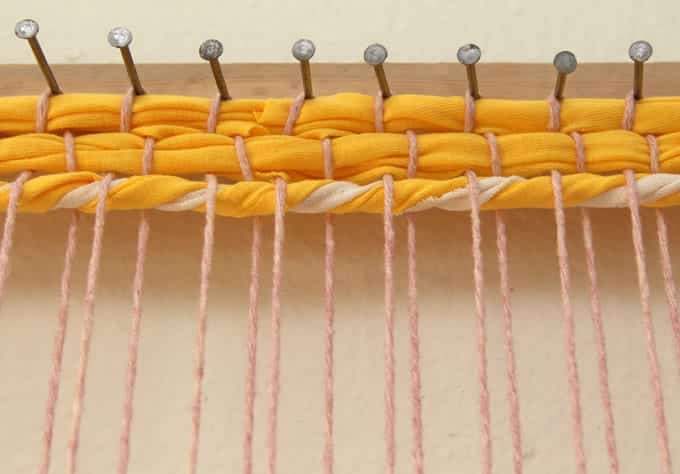
With your design in hand and materials prepared, you’re now ready to begin the actual weaving process. Start by setting up your loom or frame, making sure it’s stable and at a comfortable height for working. The warp threads should be strung tightly, as they will form the rug’s backbone. If you’re using a frame, you can use nails or pegs to keep the warp threads in place. Make sure the tension is even across all threads to prevent any warping or bunching.
As you weave, keep referring back to your design sketch to ensure you’re staying true to your planned pattern and color scheme. The weaving process can be time-consuming, so taking breaks and stepping back to assess your progress is a good idea. If you encounter any issues, such as uneven tension or a mistake in the pattern, it’s easier to correct them as you go rather than trying to fix them later. Keep a steady pace and enjoy the meditative, rhythmic nature of weaving; before you know it, your rustic rug will start to take shape.
Finishing Touches

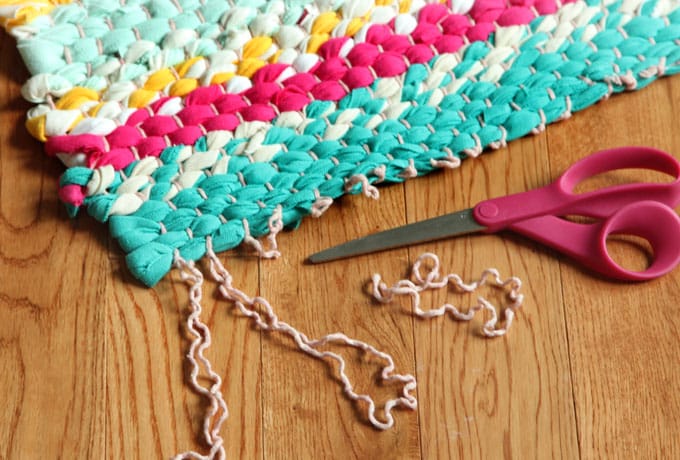
Once the weaving is complete, the next step is to secure the edges of your rug to prevent fraying. Hemming is a common technique used to finish the edges neatly. You can either fold the edges and stitch them or use a binding material like bias tape for a more polished look. If you’ve used a loom, you’ll also need to carefully cut the rug off the loom, ensuring you leave enough warp thread to tie off the ends.
Adding decorative elements can elevate the look of your rustic rug. Consider adding fringes, tassels, or even beads for a unique touch. If you’ve used a simple weave, decorative elements can add complexity and visual interest to your rug. These embellishments not only enhance the rug’s aesthetic appeal but also provide an opportunity to inject some personal style into your creation.
You’re Ready To Create A Unique Rustic Rug!
Creating a rustic rug from scraps is not just a crafting project; it’s a journey into sustainable living, artistic expression, and home improvement. This post has guided you through every step of the process, from understanding the allure of rustic rugs to mastering basic weaving techniques and caring for your finished product. The end result is a beautiful, functional piece of art that reflects your style and values. So why wait? Dive into your crafting adventure today and experience the joy and satisfaction of transforming simple scraps into a stunning rustic rug!